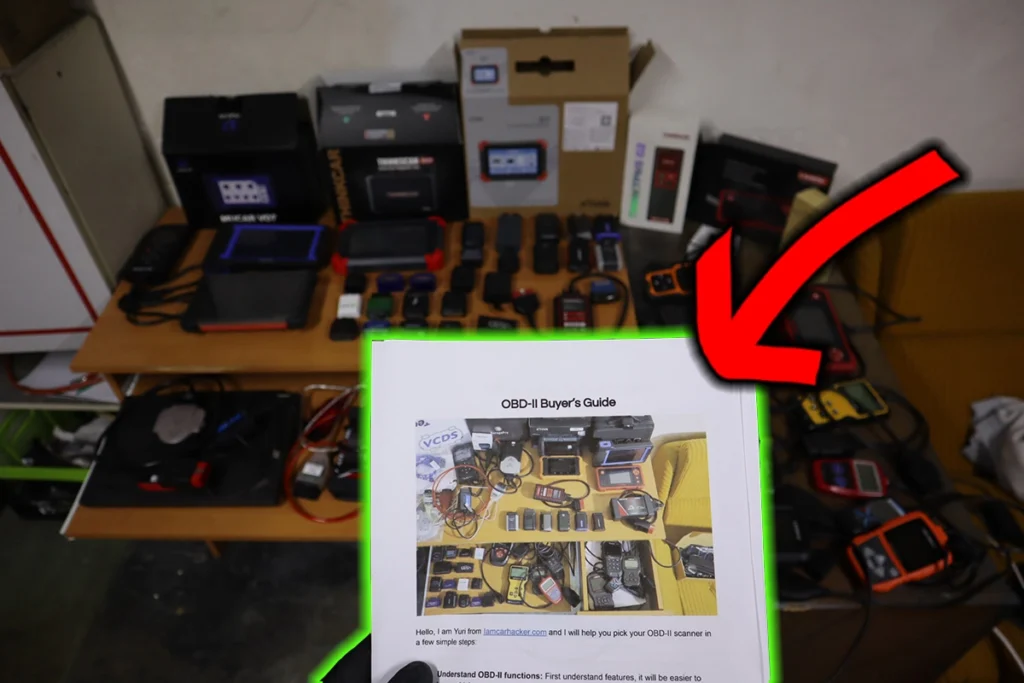
Check how to read car fault codes as a beginner and find out why is your check engine or other dashboard light illuminated. There is no need for an expensive tool, you can read your car’s faults with a $20 tool and information from this article.
Even if you don’t plan to fix your vehicle yourself, you still want to know what is going on before leaving the car at the shop. I don’t want to turn this article into thoughts about mechanics’ integrity, so let’s dive into reading fault codes.
But today, we will dive into actual problem diagnosis.
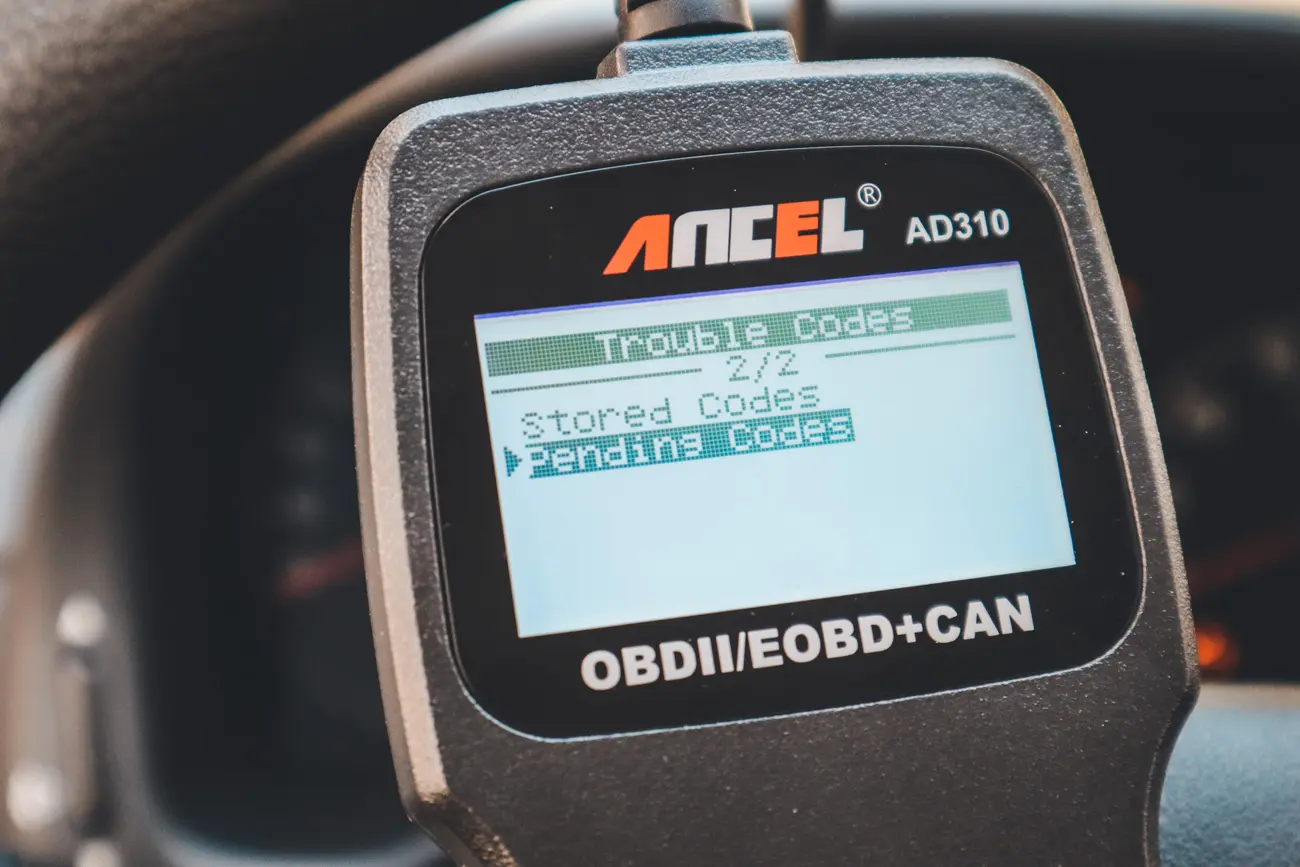
Whenever you notice some symptom or dashboard light, the first thing to do is to read fault codes.
They are usually 5-digit/letter codes. For example, the P0420 or C0036.

- P – Powertrain codes. You will see these most common codes when scanning vehicles for faults. Powertrain DTCs are faults with the engine and transmission.
- B – Body codes. This can be seatbelt or airbag faults, for example.
- C – Chasis codes. Systems like suspension, steering, or brakes.
- U – Network codes. Car systems and computers fail to communicate with each other.
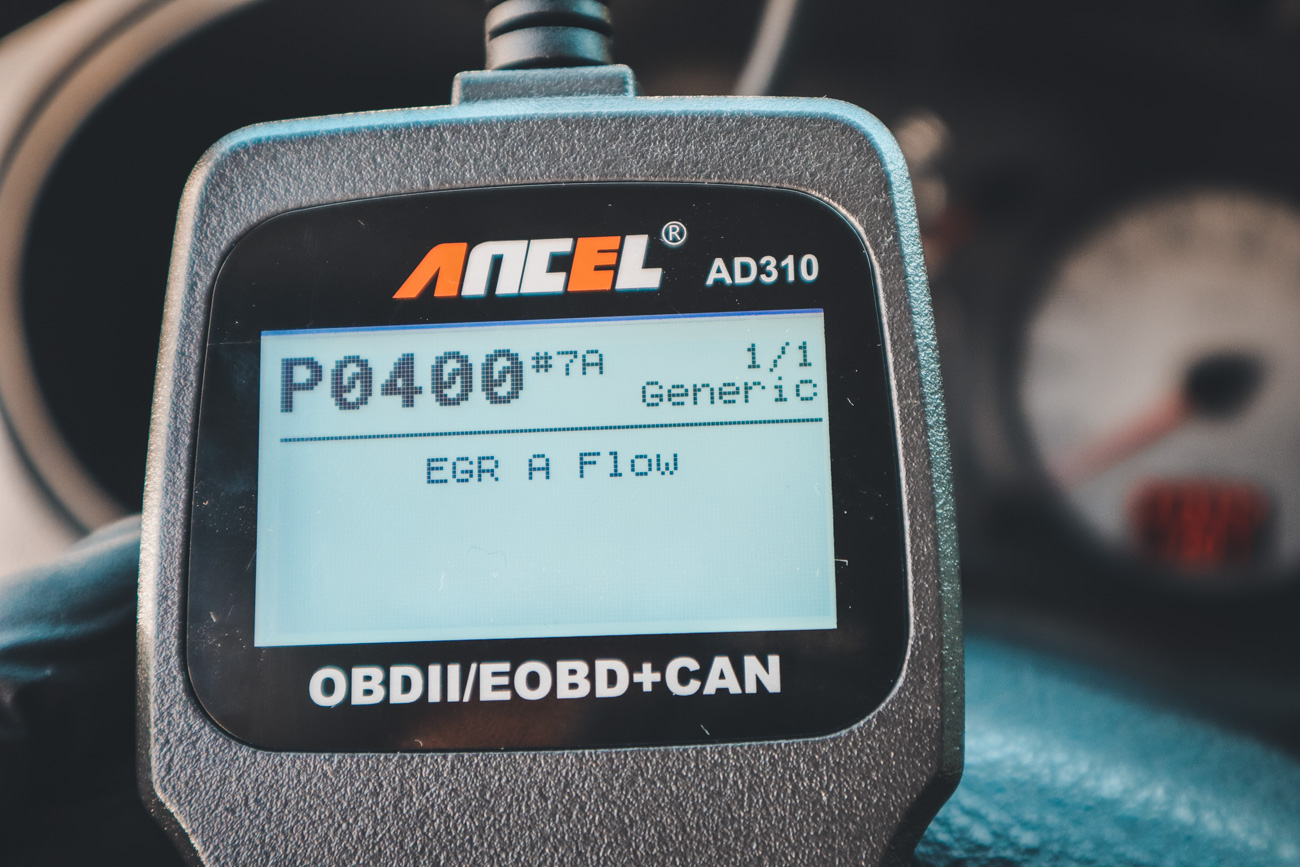
Example: P0400
P – powertrain
0 – generic code
4 – exhaust & emission
00 – code specifics (EGR A Flow)
Manufacturer vs. Generic code
The second digit in the OBD code will tell you if the code is specific to one car brand or if it applies to all cars.
- 0, 2,3 is for a generic code. This code is the same for every car brand
- 1 is a special manufacturer code.
The third digit identifies a subsystem in which the malfunction happened. (applies to Powertrain codes)
- 0, 1, and 2: Fuel + Air mixture.
- 3: Ignition system.
- 4: Exhaust / Emissions.
- 5: Vehicle speed / Idle.
- 6: ECM.
- 7, 8, and 9: Transmission.
- A, B, and C: Hybrid drive.
7-digit codes (P0000XX)
In these, XX means:
00 = Not specified
04 = Open
11 = Short to ground
12 = Short to B+
13 = Open
14 = Short to ground or open
15 = Short to B+
16 = Circuit voltage below the threshold
17 = Circuit voltage above the threshold
18 = Current below the threshold
31 = No signal
44 = Data memory failure
47 = Controller failure
49 = Internal electronic failure
51 = Not programmed
62 = Signal comparison failure
64 = Plausibility failure
72 = Actuator stuck closed
74 = Actuator slipping
77 = Commanded position not achievable
7E = Actuator stuck on
1A = Circuit resistance below the threshold
1C = Voltage out of range
1D = Current out of range
23 = Signal stuck low
24 = Signal stuck high
27 = Single rate of change above a threshold
29 = Performance signal invalid
2A = Stuck in range
2B = Signal cross coupled
2F = Signal erratic
7F = Actuator stuck off
85 = Signal above the allowable range
87 = Missing communication message
93 = Performance no operation
96 = Component internal failure
9C = Low insufficient flow
9E = Stuck on
Reading fault codes is the first and easiest step that everyone can do. But what separates good and bad mechanics is what they do after reading them.
You see, every fault code can be caused by multiple faulty parts.
A bad mechanic will replace parts only based on fault codes, but good ones will use other scanner features + electrical testing to confirm with 100% certainty that the part is faulty, before spending money on replacement.
And all that will be explained in the following lessons.
Yuri
P.S. The Extended version of this email course, including 60 video lessons to help you master DIY diagnostics, is available HERE.

Hi, I am Juraj “Yuri” Lukacko. I got frustrated by unhelpful and scammy mechanics, so I decided to learn everything about car diagnostics myself. I test dozens of new car diagnostic tools every month along with learning new strategies to fix and customize cars. About Juraj Lukacko (Yuri)