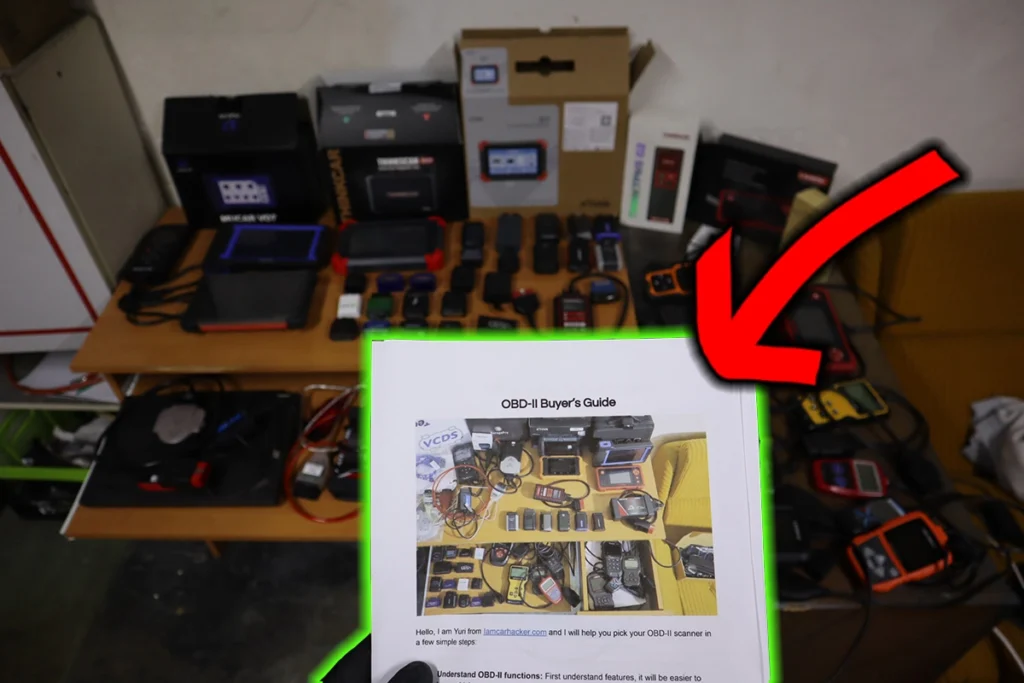
Yesterday I talked about getting advanced OBD2 scanners on budget, if you’ve missed it, read it HERE.
But now let’s dive into the most important chapter of car diagnostics.
Welcome to the introduction to car electrical systems!
Whether you’re a complete beginner or looking to refresh your knowledge, this course is designed to start from the very basics. We’ll take it step-by-step, ensuring you understand how everything works and why it matters in your vehicle.
Don’t worry, you’ve got this! By the end, you’ll be able to solve your car’s electrical issues.

I will explain the theory but also show you everything in practical examples, so you will be ready to take electrical testing on your car in your own hands 🙂
Which tools do you need?
Honestly, just any multimeter is enough to start with. But there are more useful tools for taking electrical measurements, so here is a quick overview.
All tools for electrical testing HERE
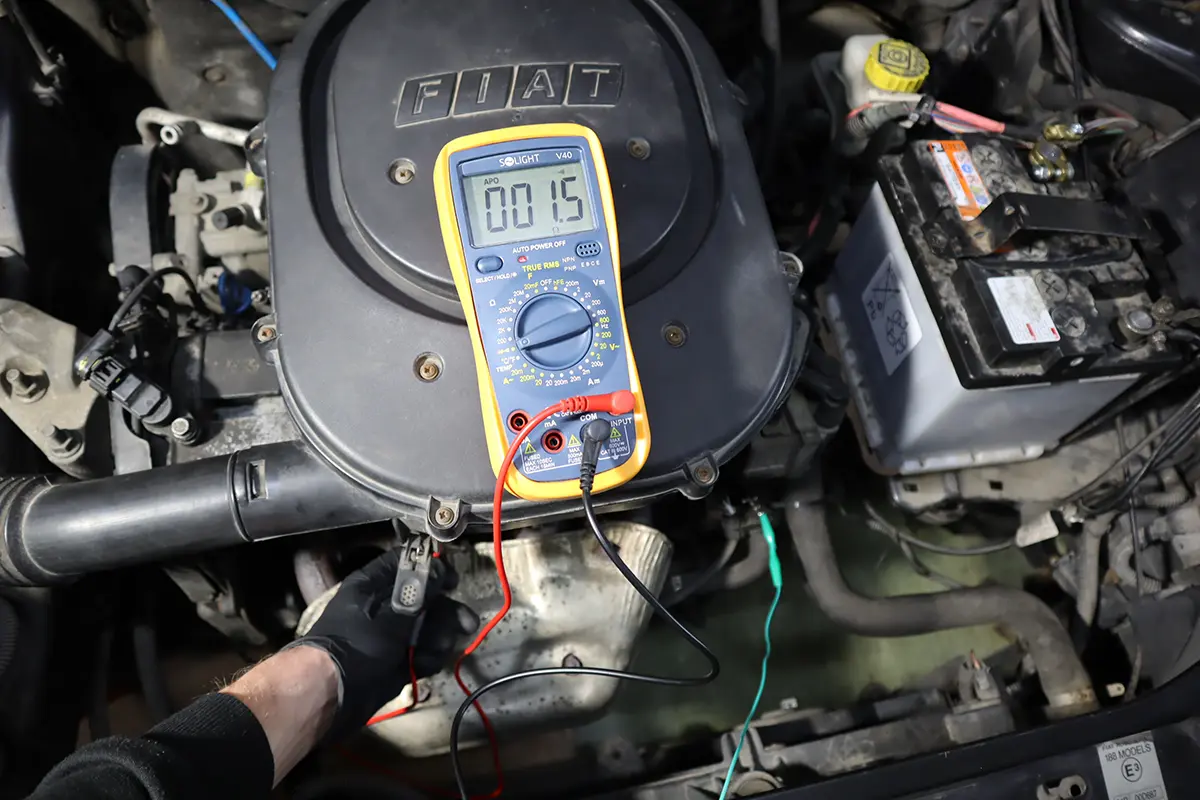
1. Multimeter

A multimeter is a handy tool that measures electrical values like voltage, current, and resistance. It’s like a health checker for your car’s electrical system. You can use it to test batteries, check for wire continuity (to see if wires are intact), and troubleshoot electrical problems. It’s a must-have tool for anyone starting to explore car electronics.
2. Test light

A test light is a simple tool that helps you find out whether electricity is present in a wire or part. It has a sharp tip to poke into wire insulation and a light that glows if there’s power. This tool is great for quick checks, like making sure your fuses are good or finding out if electrical components are getting the power they need.
3. Power probe

The power probe is a versatile tool that not only tests for electricity but can also provide power or ground to components directly. Think of it as a magic wand that can send power to parts to see if they work before you install them. It’s very helpful for diagnosing issues quickly and safely without having to use the car’s battery or wiring system.
4. Amp clamp

An amp clamp measures the amount of electrical current (amperage) flowing through a wire, without needing to cut the wire open. Just clamp it around a wire, and it tells you how much current is passing through. This tool is essential when checking for devices that might be draining your car’s battery or to ensure other components are working correctly.
5. Oscilloscope

An oscilloscope lets you see the actual shape of electrical signals, providing a visual snapshot of what’s happening in your car’s electronic circuits. It can show you how signals change over time, helping diagnose complex issues like signal timing problems or erratic sensor outputs. Think of it as an advanced tool that gives you a deeper look into the electrical heartbeat of your vehicle.
Okay, are you ready?
Tomorrow we start with the basics of how electricity works.
P.S. The Extended version of this email course, including 60 video lessons to help you master DIY diagnostics, is available HERE.

Hi, I am Juraj “Yuri” Lukacko. I got frustrated by unhelpful and scammy mechanics, so I decided to learn everything about car diagnostics myself. I test dozens of new car diagnostic tools every month along with learning new strategies to fix and customize cars. About Juraj Lukacko (Yuri)