Yesterday, I introduced you to different types of OBD2 scanners. In case you missed it, look it up in your inbox or read it here.
Now when you have you scanner ready, I will show you how to connect it to your car.
A scanner is connected to the car via the OBD-II port. That’s a 16-pin connector located close to the steering wheel.
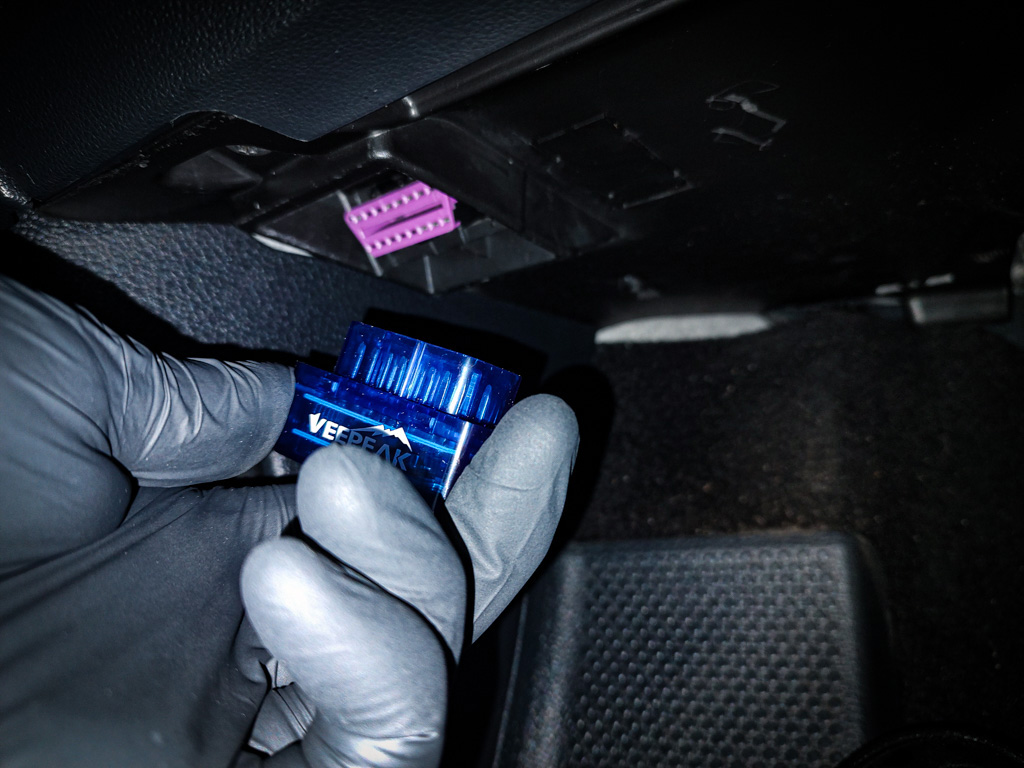
Usually, it is under the dashboard, in the center console, or the interior fusebox. If you cannot locate it, visit this website.
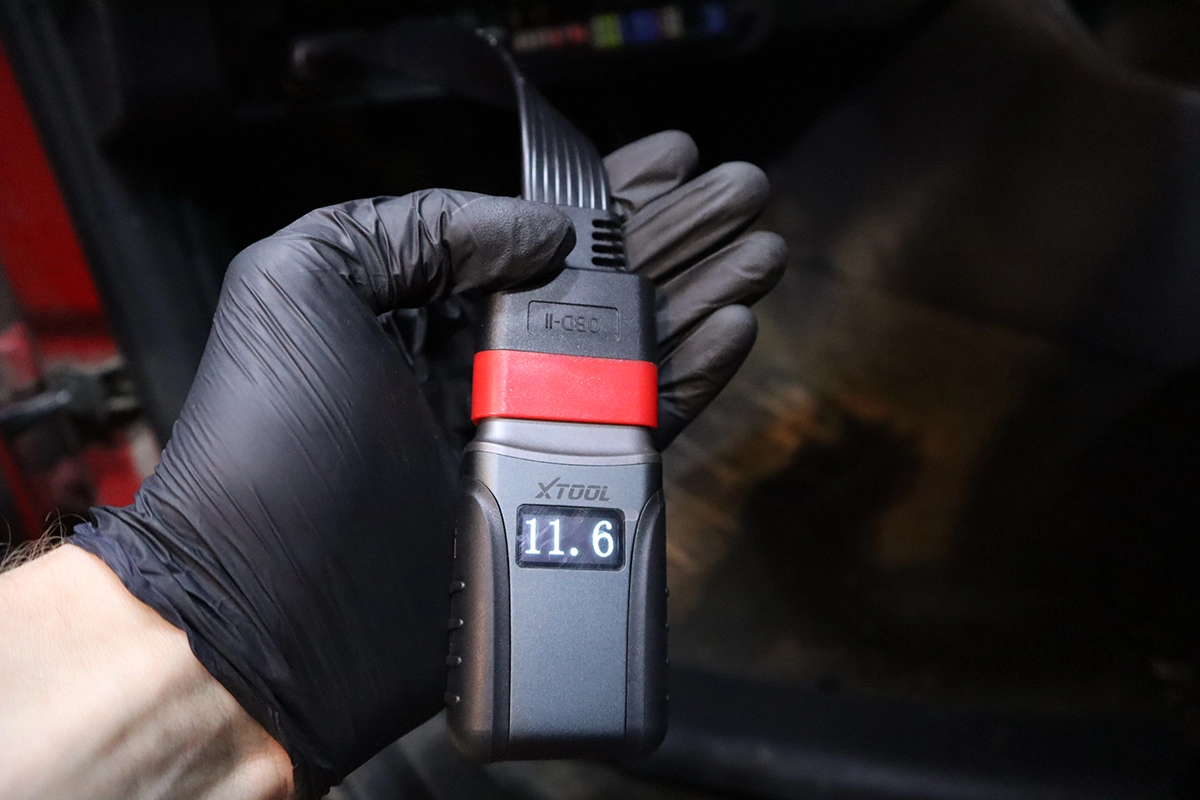
Ignition must be ON to connect
When connecting the scanner, it is recommended to have the engine OFF and the ignition ON.
Engine ON and Ignition ON work as well.
With ignition OFF ,you won’t be able to connect at all, or you will not be able to access all modules.
Connection through global OBD
If you use global OBD mode to connect, usually you don’t have to input any car model or make. OBD-II scanner will detect the protocol your car is using.
OBD Protocols
OBD protocol is something like language dialect. You can think of OBD-II as language and protocols are different variations of the same language.
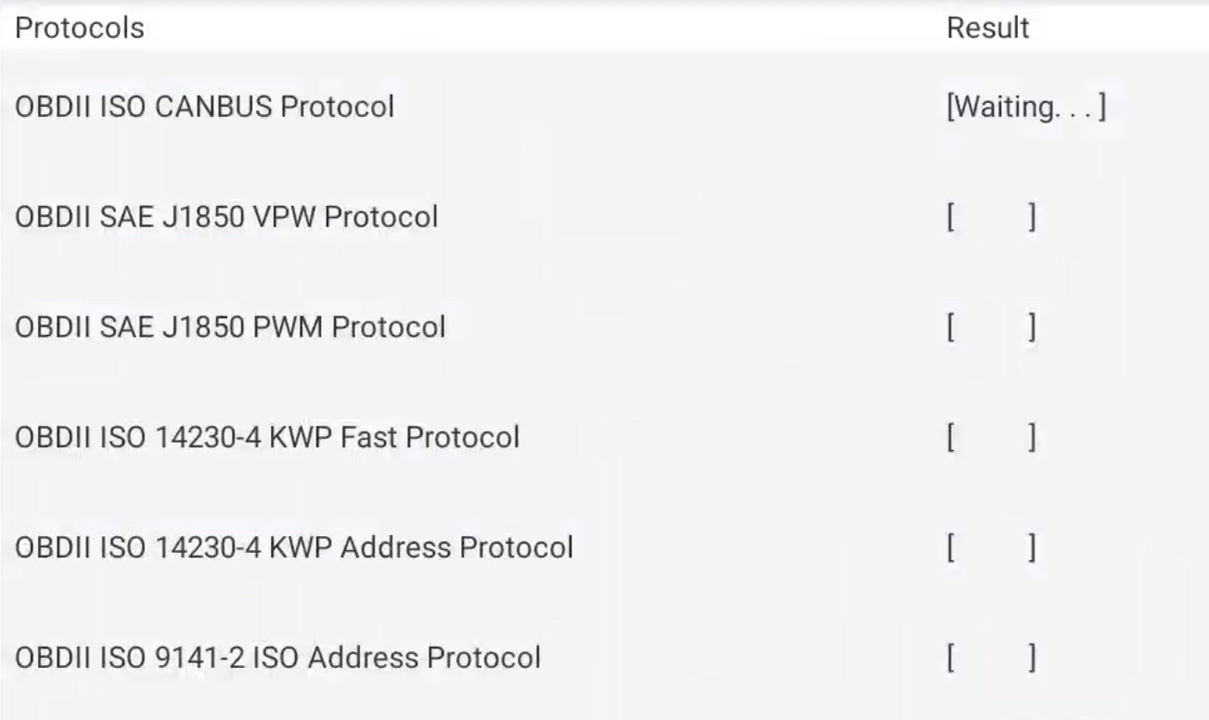
- SAE J1850 PWM – Used by Ford and General Motors vehicles produced before 2003.
- SAE J1850 VPW – Used by Chrysler vehicles produced before 2003.
- ISO 9141-2 – Used by Asian and European vehicles produced before 2004.
- ISO 14230 KWP2000 – Used by Asian and European vehicles produced after 2004.
- ISO 15765 CAN – Used by all vehicles produced after 2008. This is the most common OBD2 protocol used today.
If there are some brand-specific codes stored in ECU and the scanner has them in the database, it can ask you for the car brand to give you the correct description, but usually, you don’t have to input anything and after connecting you will be redirected to the quick-overview screen.

Right from the welcome screen on the simple scanner, we can see:
- VIN number
- MIL status (is check engine light ON or OFF)
- Number of stored fault codes
- Status of readiness monitors
- OBD protocol of the vehicle
Connection through advanced OBD
If you are using a more advanced scanner, you will either have to input the vehicle brand and model or use auto-scan to let the scanner detect this information from VIN number automatically.

Once the VIN number is detected, it might ask you a couple of questions, like whether the vehicle is equipped with certain systems.
If you don’t know, just select NO to everything.
If the VIN scan failed, you can either try inputting it manually, but I had more success with going straight to manual brand & model selection and choosing it myself.
That’s it!
Whether you have a simple or advanced scanner, now you know how to connect it.
P.S. The Extended version of this email course, including 60 video lessons to help you master DIY diagnostics, is available HERE.

Hi, I am Juraj “Yuri” Lukacko. I got frustrated by unhelpful and scammy mechanics, so I decided to learn everything about car diagnostics myself. I test dozens of new car diagnostic tools every month along with learning new strategies to fix and customize cars. About Juraj Lukacko (Yuri)