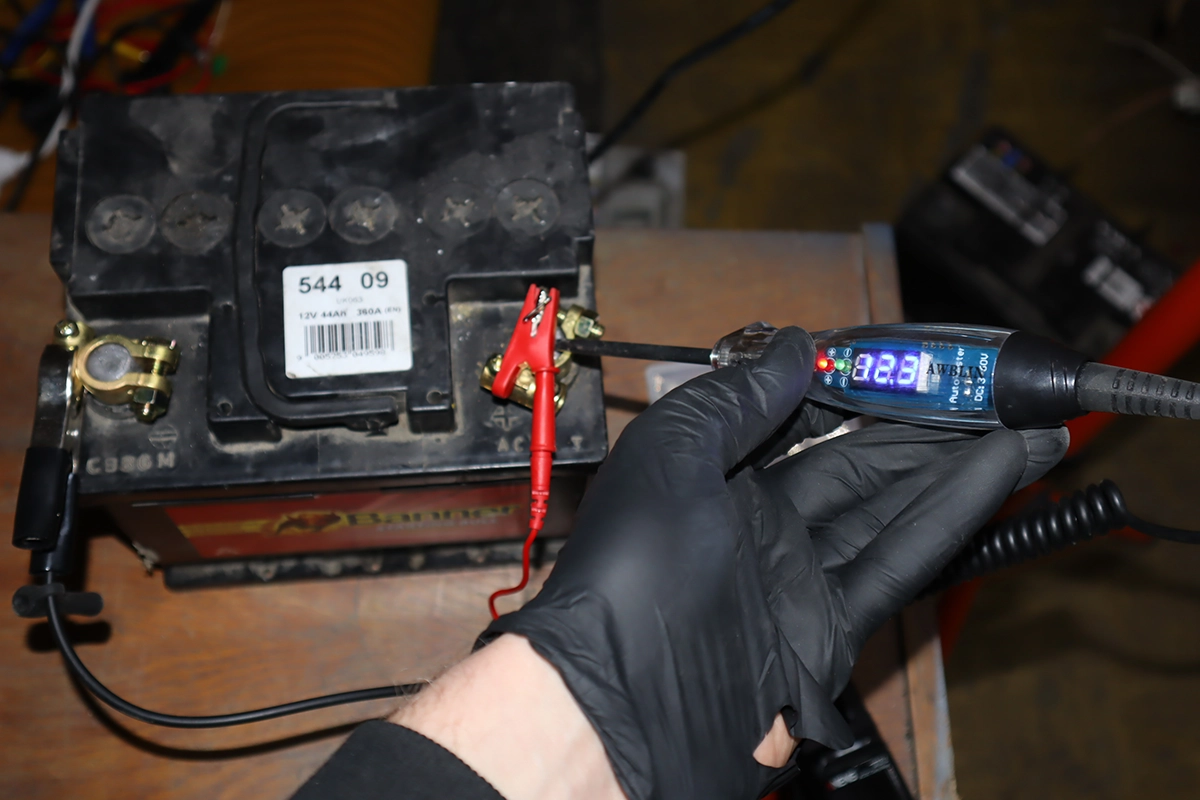
For quick checks, a test light is your new best friend. It’s simpler than a multimeter for basic checks and can be super fast! Think of it like a simple light switch – when the conditions are right, the light turns on.

A test light usually has a pointed probe on one end and a clip with a wire on the other. Inside the handle is a small light bulb (or sometimes an LED). When you complete a circuit through the test light, the bulb lights up.
Here are the two main ways a beginner uses a test light for basic circuit checks:
Check 1: Testing for Power (Is there voltage here?)

- Connect the Clip to Ground: Find a clean, unpainted metal part of the car’s frame or chassis. This is your ground point. Connect the test light’s clip securely to it. You’re giving the test light a path back to the negative side of the battery.
- Touch the Probe to Where You Expect Power: Touch the pointed end of the test light probe to the wire or terminal you suspect should have 12 volts.
- Look at the Light: If the light inside the test light handle turns on, congratulations! You have power at that spot. If it doesn’t light up, there’s no power getting there.
Check 2: Testing for Ground (Is this getting a good ground connection?)

- Connect the Clip to Power: Connect the test light’s clip to a known good power source. The positive (+) battery terminal is a good spot (be careful!). You could also use a fuse that you’ve already confirmed has power (using your multimeter or the power-checking step above). You’re giving the test light 12 volts.
- Touch the Probe to Where You Expect Ground: Touch the pointed end of the test light probe to the wire, terminal, or metal point you suspect should be a good ground connection.
- Look at the Light: If the light inside the test light handle turns on, that point has a good ground connection back to the negative side of the battery. If it doesn’t light up, the ground path is broken or poor.
When is a Test Light Handy?
- Quickly checking if a fuse is “hot” (has power).
- See if power is reaching a light bulb socket, motor connector, or switch.
- Verifying that a component is properly grounded.
- Diagnosing simple issues like a light or a horn not working.
Remember when using a test light
A test light is more commonly used for quick checks instead of for full problem diagnosis. By the way, I have a full DIY electrical toolkit listed HERE.

Ensure a Good Connection (Clip Side): Whether clipping to ground (for power checks) or power (for ground checks), make sure your clip has a clean, solid metal connection. A poor connection here means the test light might not light up even if the point you’re probing is good.
Understand What “Lit” Means: A standard bulb-style test light needs a certain amount of current to light up. It tells you if there’s enough power/ground to light the bulb, but not the exact voltage or if there’s excessive resistance (voltage drop) in the circuit before that point. It’s a basic check, not a precise measurement.
Beware of Sensitive Electronics: Test lights draw a small amount of current. While usually safe on simple power/ground wires, avoid probing sensitive low-voltage signal wires going to computer modules (ECU, BCM, etc.) with a traditional test light, as it could potentially damage them. Use a multimeter for those.
The Bulb Could Be Burned Out: If your test light doesn’t light up, make sure the bulb itself isn’t burned out! Test it on a known good power and ground source (like directly on the battery terminals) first to confirm it works.
Avoid Piercing Wire Insulation Carelessly: Repeatedly poking through wire insulation with the sharp probe can damage the wire and its waterproofing, leading to future corrosion and problems. Use dedicated backprobe tools when possible, or test at connectors.
The test light is a fantastic tool for confirming the simple presence (or absence) of power or ground. It’s a great addition to your diagnostic toolkit for fast checks!
P.S. I have a full DIY Mechanic video course (if you are a more video-visual learner), you can join HERE.
Free PDF: How to choose OBD2 scanner
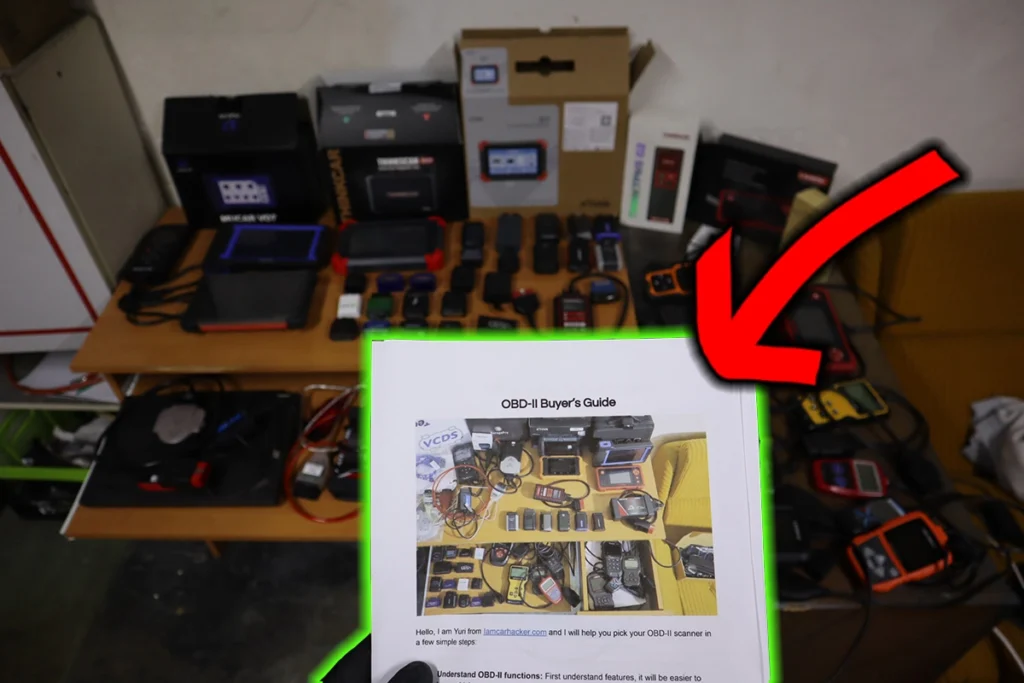
I’ve made you a free PDF to choose the OBD2 scanner in 5 minutes.
✅ Which OBD2 scanner is best?
✅ Which type should you get (DIY, Pro, Hobby)
✅ What is the best scanner for the exact brand/feature (e.g best for BMW)
✅ How to get a Bi-Directional tool for as cheap as $40
✅ Discount coupons for scanners
PDF is 100% free and it is designed to help you pick a scanner in less than a few minutes! Not a boring 50-page guide.
Just tell me where to send it.

Hi, I am Juraj “Yuri” Lukacko. I got frustrated by unhelpful and scammy mechanics, so I decided to learn everything about car diagnostics myself. I test dozens of new car diagnostic tools every month along with learning new strategies to fix and customize cars. About Juraj Lukacko (Yuri)