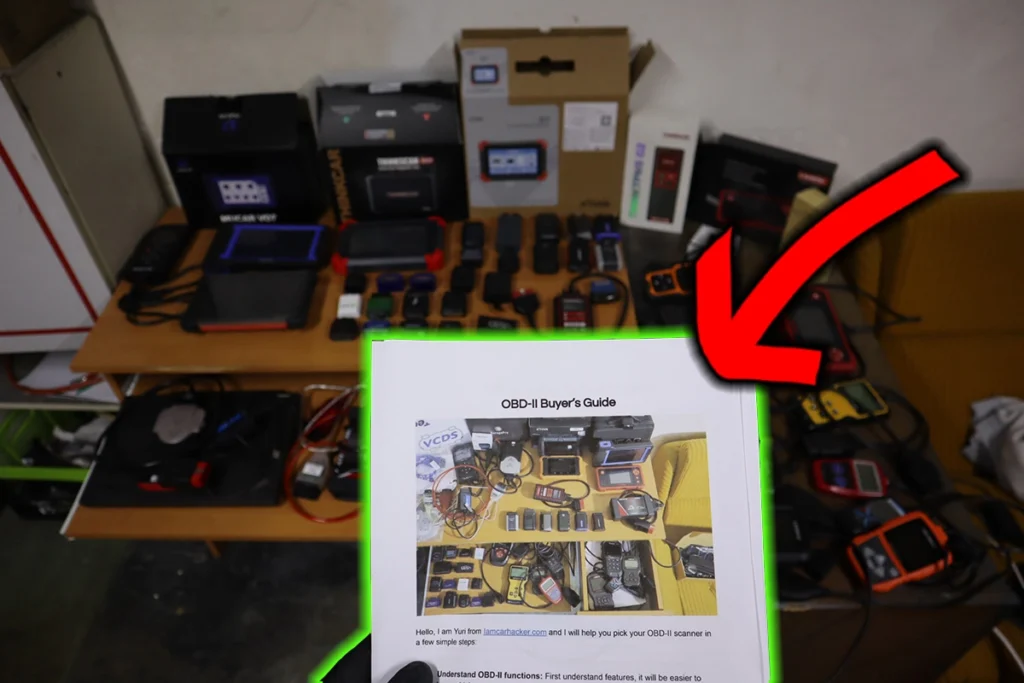
Fix P2032: STEP-BY-STEP diagnostic GUIDE!

The P2032: Exhaust Gas Temperature Sensor Circuit Low Bank 1 Sensor 2 code indicates that the exhaust gas temperature (EGT) sensor on Bank 1 (Sensor 2) is reporting low voltage. This issue may be caused by a faulty sensor, wiring problems, or issues with the sensor circuit.

P2032 – Quick Overview

CodeInformation
MeaningP2032: Exhaust Gas Temperature Sensor Circuit Low Bank 1 Sensor 2
Is it serious?Yes, a malfunctioning EGT sensor can lead to improper exhaust temperature monitoring, which can result in damage to components like the catalytic converter or DPF, as well as higher emissions.
Possible causes– Low voltage in the sensor circuit
– Faulty sensor
– Wiring or connector issues
How to diagnose?– Measure voltage in the sensor circuit
– Test the sensor
– Inspect wiring and connectors

P2032 Meaning

The P2032: Exhaust Gas Temperature Sensor Circuit Low Bank 1 Sensor 2 code means that the second exhaust gas temperature sensor on Bank 1 is reading lower voltage than expected. The EGT sensor monitors the exhaust temperature to protect components like the catalytic converter and DPF from damage caused by excessive heat. Low voltage typically indicates that the sensor is providing incorrect or insufficient temperature readings.

Step-by-step diagnostic guide

ActionDescriptionTools Needed
Check for Other CodesUse an OBD-II scanner to check for additional codes related to the exhaust system, such as issues with the catalytic converter, DPF, or other related sensors.OBD-II Scanner
Measure Voltage in the Sensor CircuitUse a multimeter to measure the voltage in the EGT sensor circuit on Bank 1 Sensor 2. Compare the voltage readings to the manufacturer’s specifications to verify if they are too low.Multimeter
Test the Exhaust Gas Temperature SensorTest the resistance of the exhaust gas temperature sensor to ensure it is within the correct range. If the sensor is out of spec, it may need to be replaced.Multimeter, Diagnostic Tool
Inspect Wiring and ConnectorsVisually inspect the wiring and connectors leading to the EGT sensor for signs of damage, corrosion, or disconnections that could cause low voltage in the circuit.Flashlight, Multimeter
Check Circuit ContinuityPerform a continuity test on the wiring connected to the EGT sensor to ensure there are no shorts, breaks, or high resistance that may be affecting the voltage.Multimeter
Inspect the Exhaust SystemCheck for any issues near the EGT sensor, such as exhaust leaks, blockages, or contamination (like soot or carbon buildup), which could affect sensor performance.Flashlight, Exhaust Cleaner
Replace the Exhaust Gas Temperature SensorIf the sensor is faulty or not providing accurate readings, replace it with a new one. Make sure the new sensor is properly installed to avoid further issues.Replacement EGT Sensor, Wrench
Repair or Replace Damaged WiringRepair any damaged wiring, connectors, or faulty components in the circuit to restore proper voltage and functionality to the sensor.Wiring Repair Kit
Clear the Code and Test DriveAfter completing repairs, clear the P2032 code using an OBD-II scanner. Take the vehicle for a test drive to ensure that the sensor is working correctly and the issue is resolved.OBD-II Scanner, Vehicle Owner’s Manual
Recheck for CodesAfter the test drive, re-scan the vehicle to verify that the P2032 code has not returned.OBD-II Scanner
Bluetooth OBD-II scanners

OBD-II scanner Buyer’s Guide

  • Scanner features explained
  • Different types of scanners
  • Scanners for coding/odometer/ECU/checks
  • Best picks + discount codes

Download PDF FREE

    Leave a Comment